Fitout By Sys Tim
SYS-Rack, OpenBuilds, Shop Furniture, Bott Runner Kit, Bott Drawer
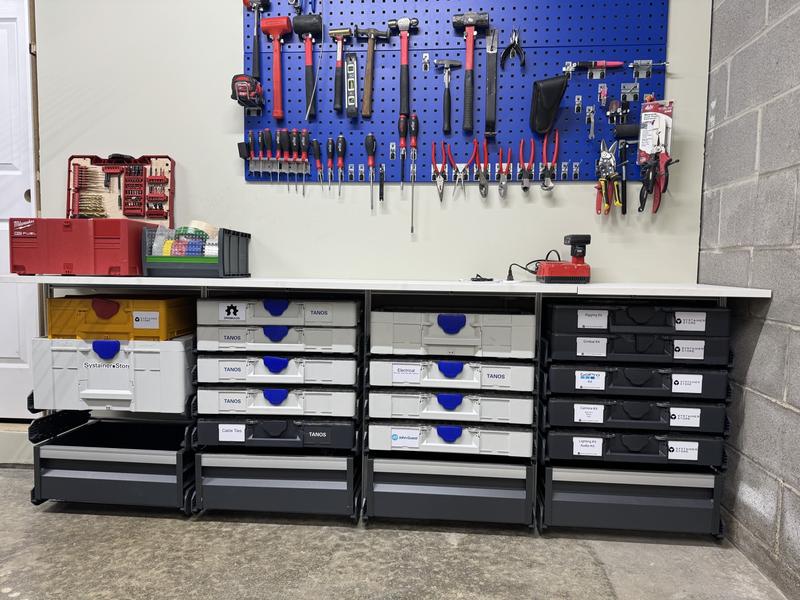
After building the SYS-Tower I had some ideas I wanted to explore to further test what is possible with extrude aluminum, systainers and shop furniture. I wanted to experiment with shop furniture that is installed rather than mobile. Furthermore I wanted to try a smaller size OpenBuilds V-Slot Linear Rail in order to reduce weight and cost as well as try a single vertical stile to mount the Systainer³ rails on.
There is a hallway to my lab space that works out perfect to put the prototype SYS-Rack and a place to organize a few tools and Systainer³ Organizers. Here is the account of creating this so that you may learn and create one yourself.
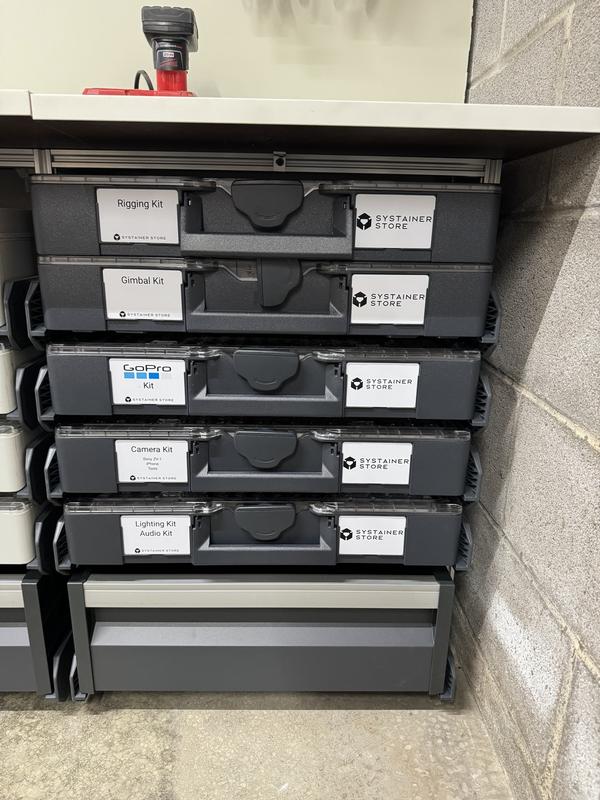
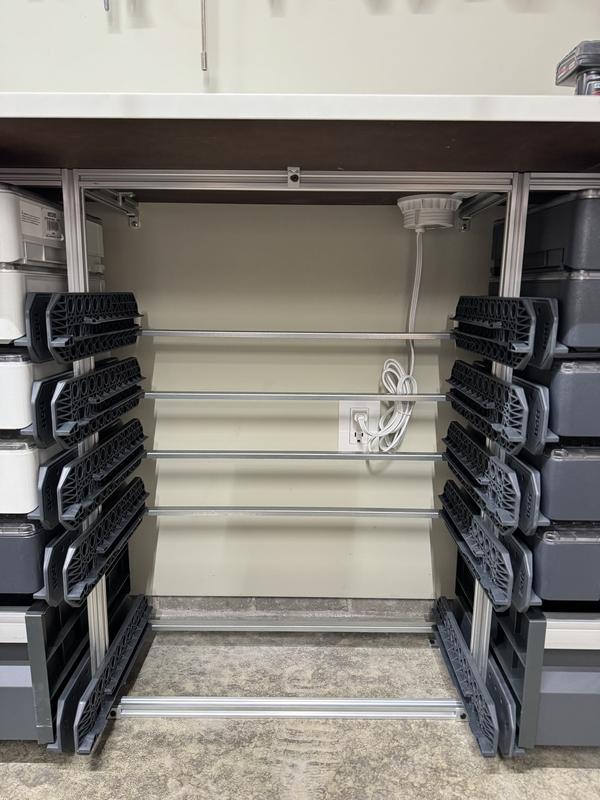
My SYS-Rack is four bays of Systainer³ L width since I use a lot of the Systainer³ L Organizers. I also wanted drawers for storage. Therefore I used the Bott Slide Drawer L, which works on the exact same rails as the Systainer³ so if someday I don’t want the drawer I can put in a Systainer³.
I had a specific counter height I wanted (31 inches) so this limited the systainer stack up below and caused one compromise, more on that in a moment.
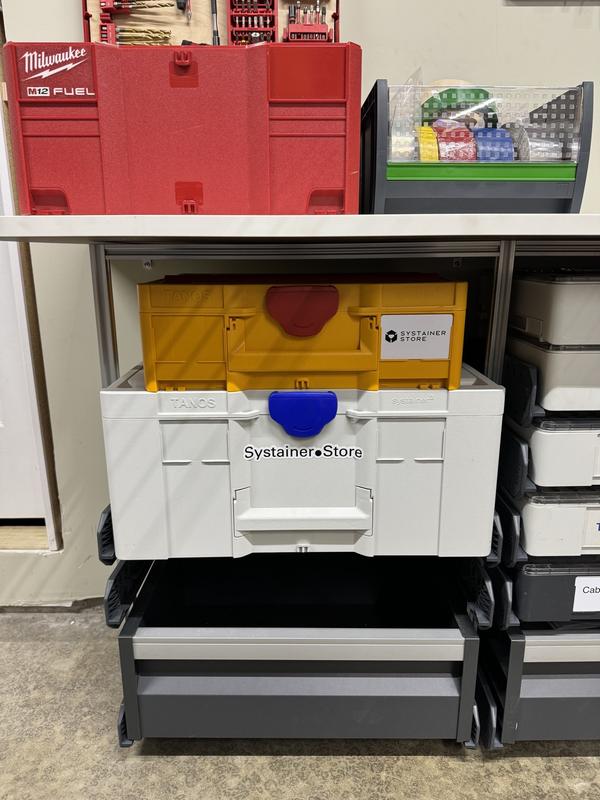
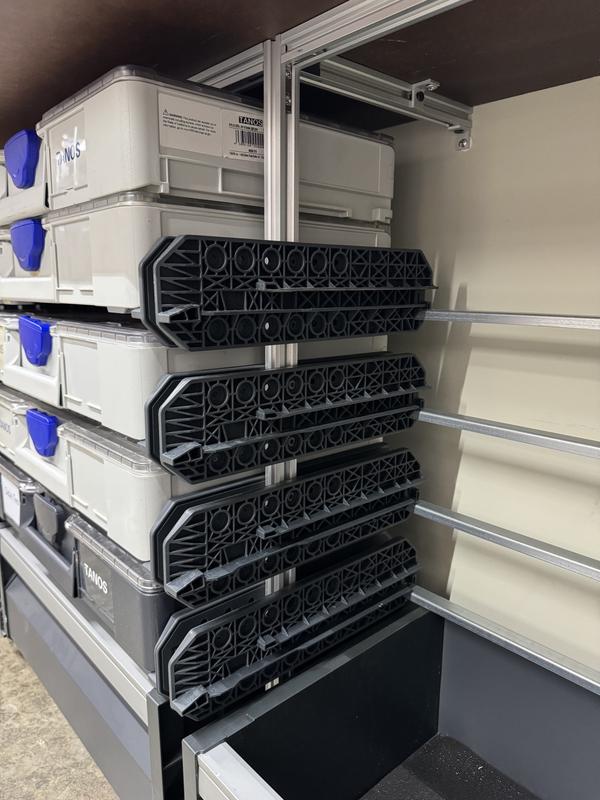
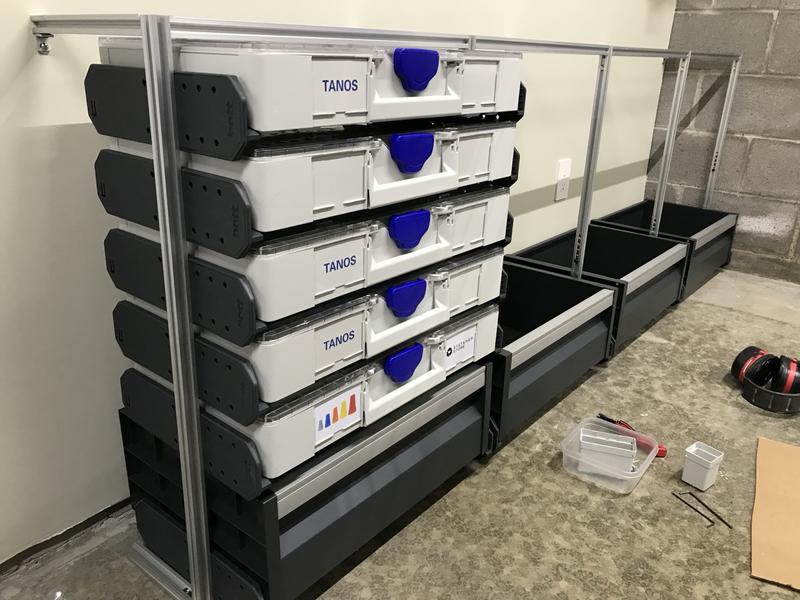
Bay 1 (left to right) hosts a Bott drawer at the bottom, A Systainer³ L 237 and a Systainer³ M 137. Since the bays are L width, the Systainer³ M rest on the L Systainer. There is one spare slot set up for an Organizer.
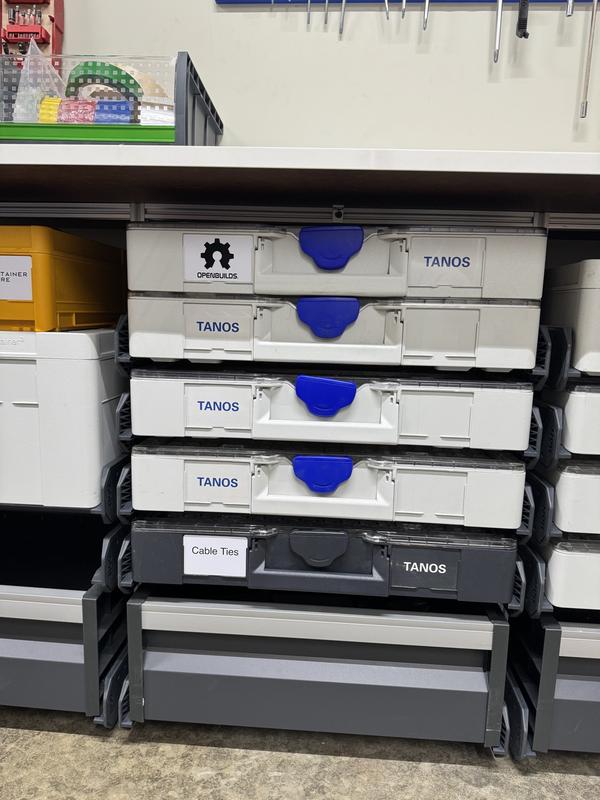
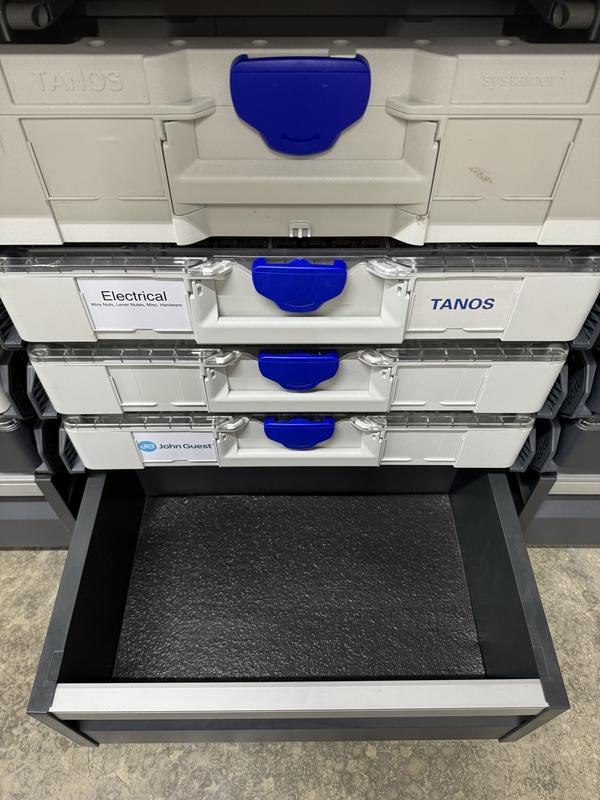
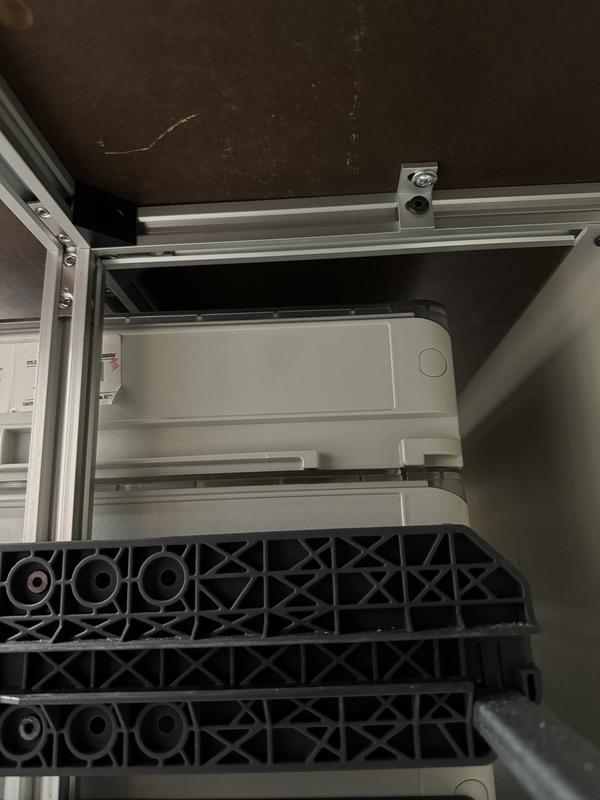
Bay 2 and 4 are set identical with a Bott drawer at the bottom and a Systainer³ L Organizers stacked to the top. As you may notice the top Organizer is set on top of the next Organizer. Because I wanted a specific counter height I wasn’t able to squeeze in the rail and allow for the lift out action of the systainer. Had my counter been an inch or so taller, and thus the frame taller, I could have fit the systainer rail in just fine for the top most Organizer. None the less I don’t mind this flexibility, see Bay 3.
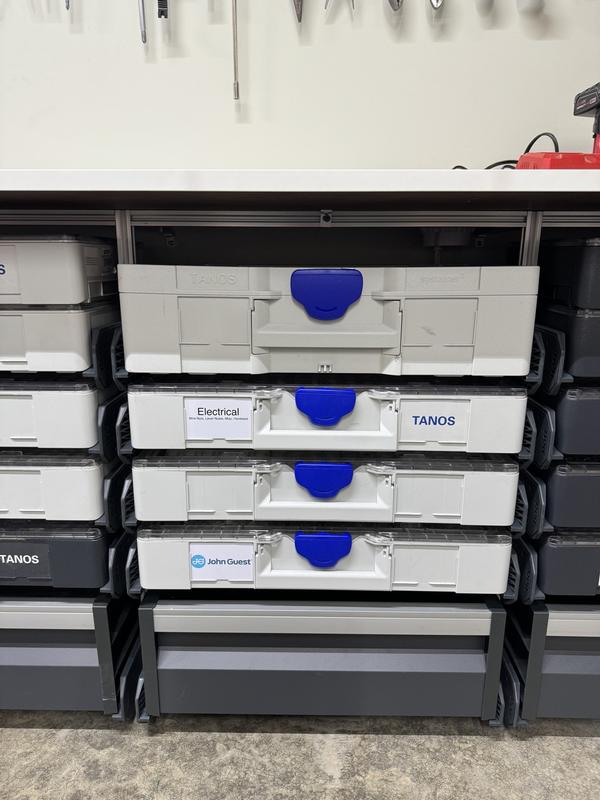
Bay 3 has a Bott drawer, a few Organizer L and the a ToolBox L 137 at the top. This could be used as another drawer, one could pop the top off the ToolBox or use it as a ToolBox. This extra height space allows for some other L size systainers to fit. Again if the counter was slightly higher I could fit an 187 height systainer.
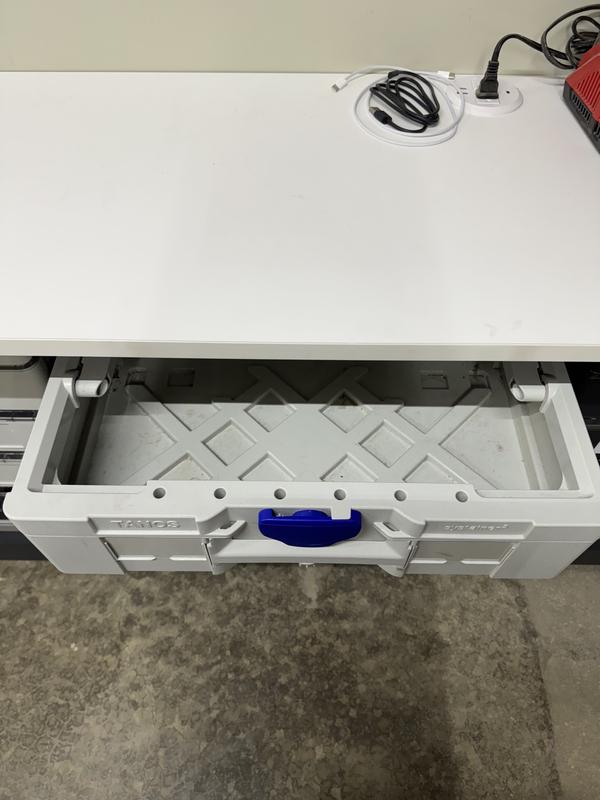
On top of the frame I have a white work surface. In one portion of the surface I have an embedded outlet with AC and USB power. Adding this outlet simply required a hole cut to the right size. And on the wall is the Bott Perfo Panel.
Your SYS-Rack could have fewer or more bays. It could be shorter or taller. It could host Systainer³ M, L, or XXL. It could host Systainer³s or Bott drawers.
Since this is made from OpenBuilds V-Slot Linear Rails and connectors, this shop furniture requires just a little bit of calculation and configurations and this customizing is the best part of this design allowing you to make it what you want. Here are the basics of what you need to know for sizing.
A Systainer³ M bay using the Systainer³ Rail (SYS-Rail) or Bott Runner Kit for Systainer³ M requires 418mm between vertical stiles.
A Systainer³ L bay using the Systainer³ Rail (SYS-Rail) or Bott Runner Kit for Systainer³ L requires 530mm between vertical stiles.
These dimensions are from the Tanos SYS-Rail documentation.
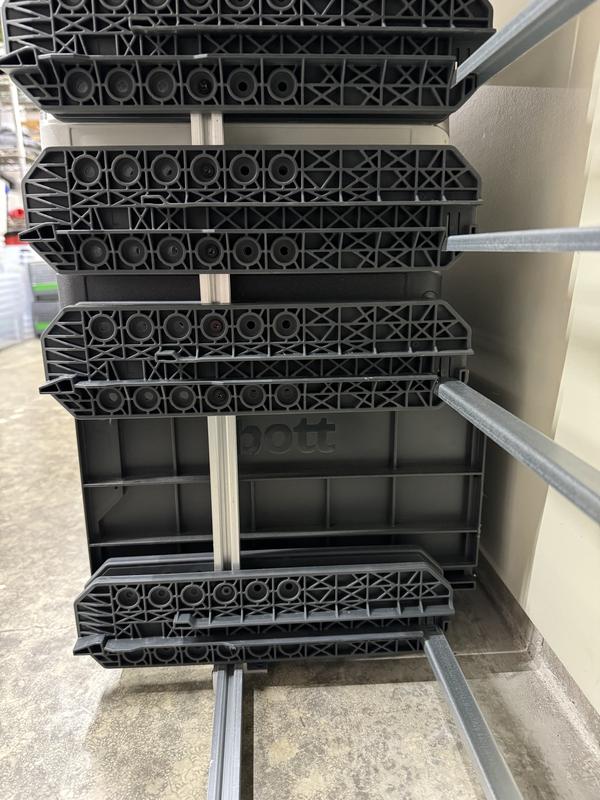
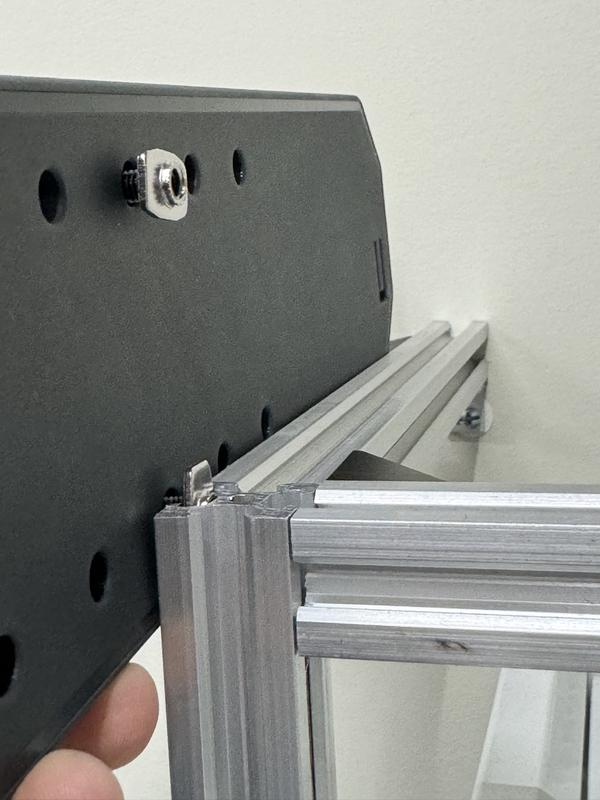
You do have a choice of systainer rail to use. I took advantage of the Bott Runner Kits as the hole arrangement allows for two vertical screws to a single vertical OpenBuilds Rail. The Bott slide rails are the same used in the SmartVan system.
After specifying your bays, you next need to pick out your Systainer stack and slide arrangement. You may find you need to prototype what Systainers you want where. You can change the positions certainly as you build this, but it is best to go in with an idea. You will need clearance between the top of each systainer to allow the lift out action and include clearance to your top horizontal rail of the frame as well. In time I’ll add a table for different height and spacers here.
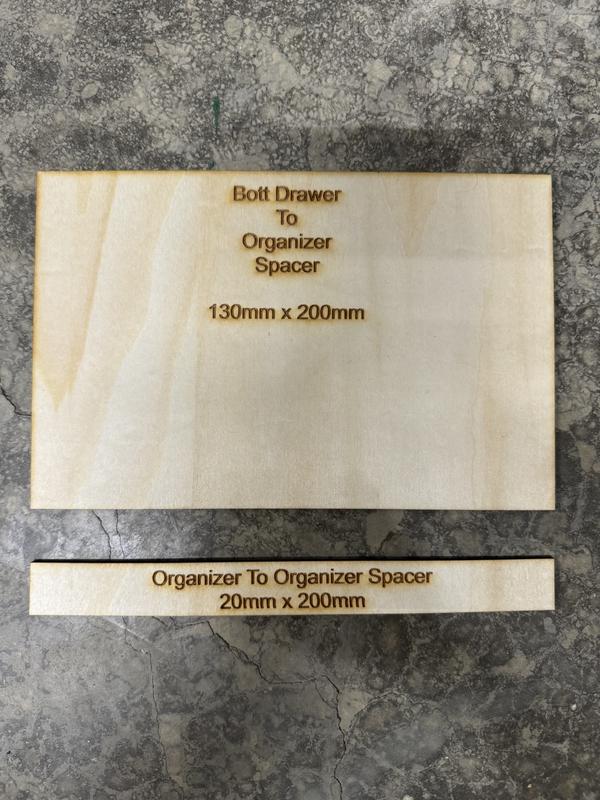
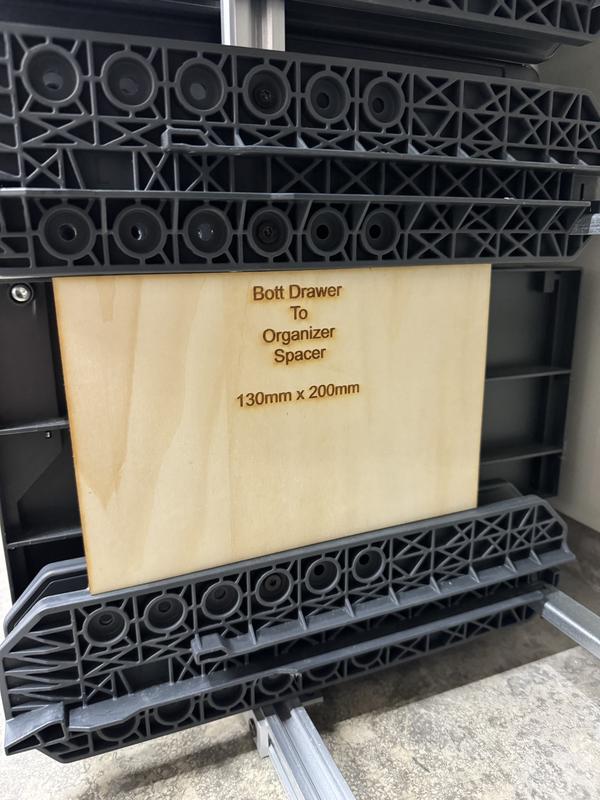
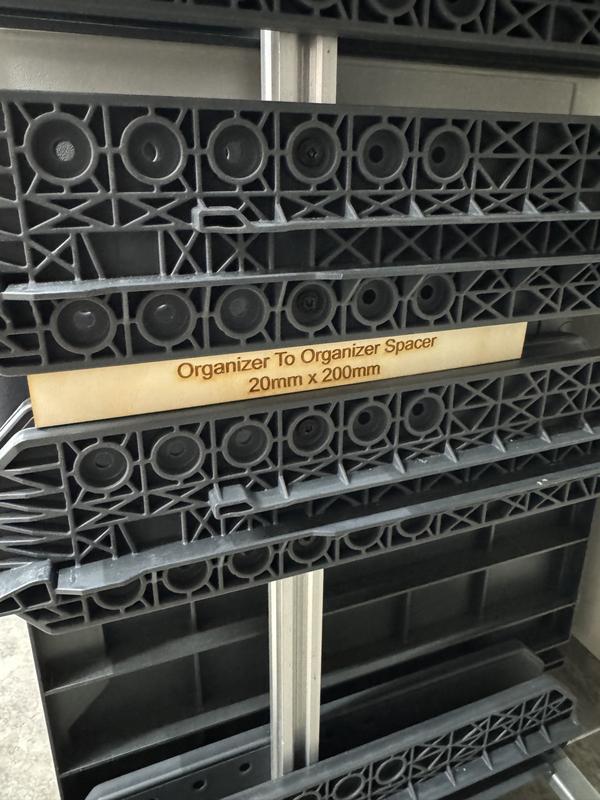
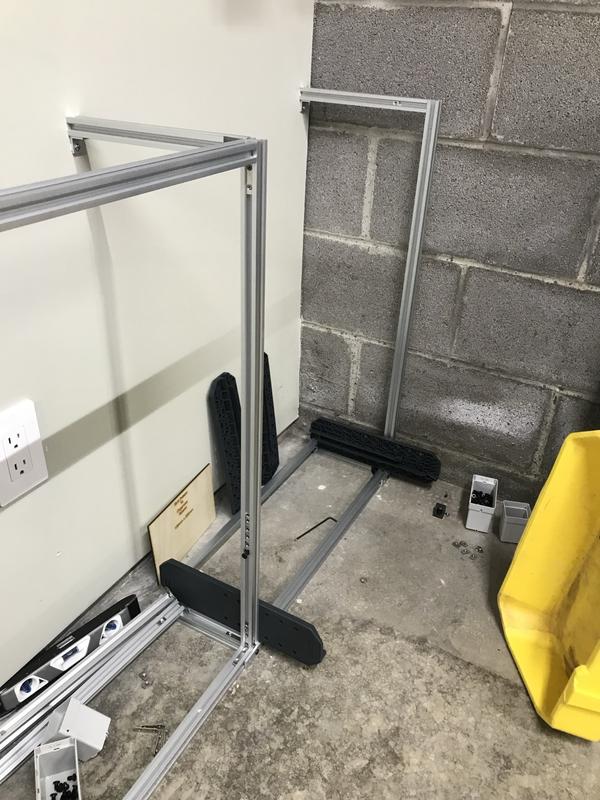
I laser cut spacers to use when building my SYS-Rack. I used 130mm between rails for the Bott drawer and 20mm between rails for the Organizers. Having spacers is very helpful to ensure consistent and reliable spacing. The lowest set of rails is installed first at the very bottom. The rail is leveled and tightened with two screws. Then spacers used to build up each side, checking level as I went along.
Finally the next part is to determine the V-Slot Rail Size you will use. Now, I should say you could use any extruded aluminum system. I personally like OpenBuilds V-Slot Rail and I admire the company and their open designs and supportive community they foster.
For the SYS-Rack I utilized the 20x20 profile. At first I thought it might be too thin, but after a couple months of use I don’t feel this way. You could consider the 20x40 profile as well, using it on its side so as to not take up too much space side to side. For the SYS-Tower I tried the 40x40 profile, it is beefy and if you are building a workbench that you you will be pounding on or perhaps a full wall height rack, you may want the extra heft.
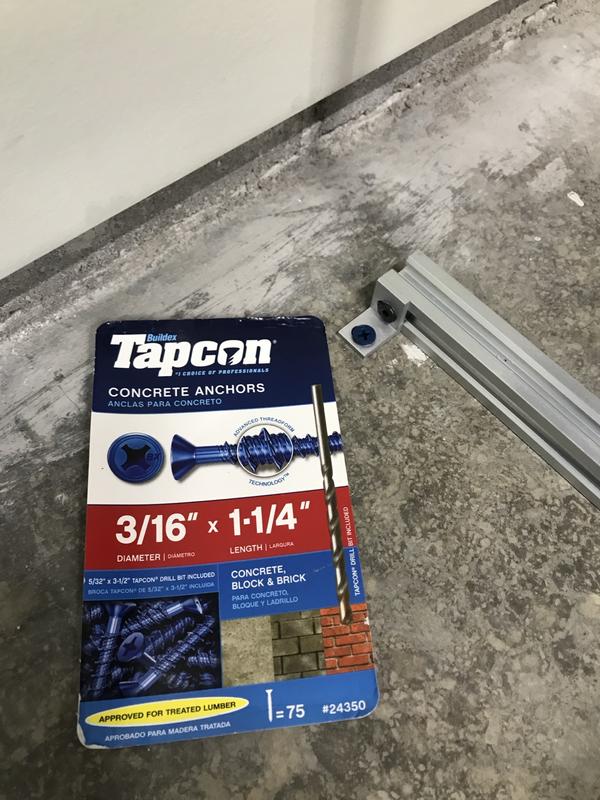
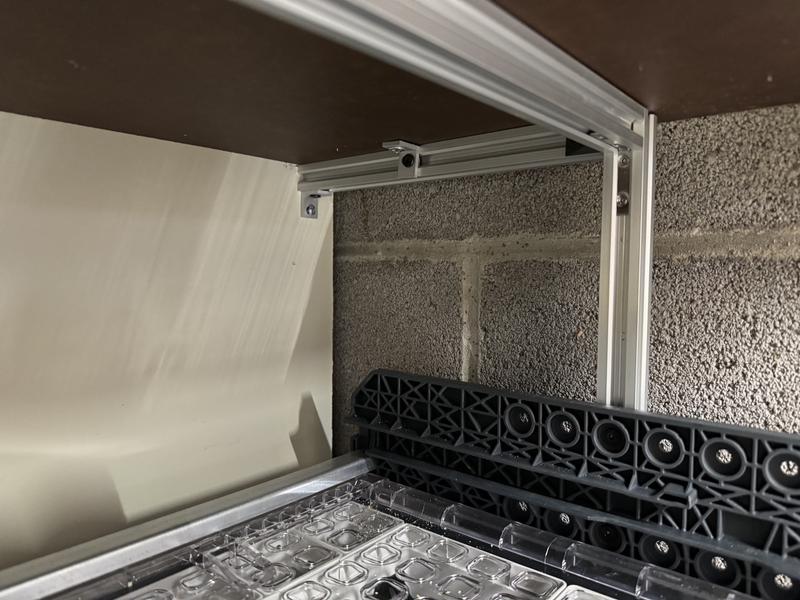
Now that you know your bays, their width and height and the profile, you can calculate your overall dimensions of the frame that holds the systainers with a simple sketch on a piece of paper. In addition to this frame you will want to add support rails for the floor (which I used Tapcons to go into concrete) and the wall (which I used Toggler self-drilling Drywall anchors).
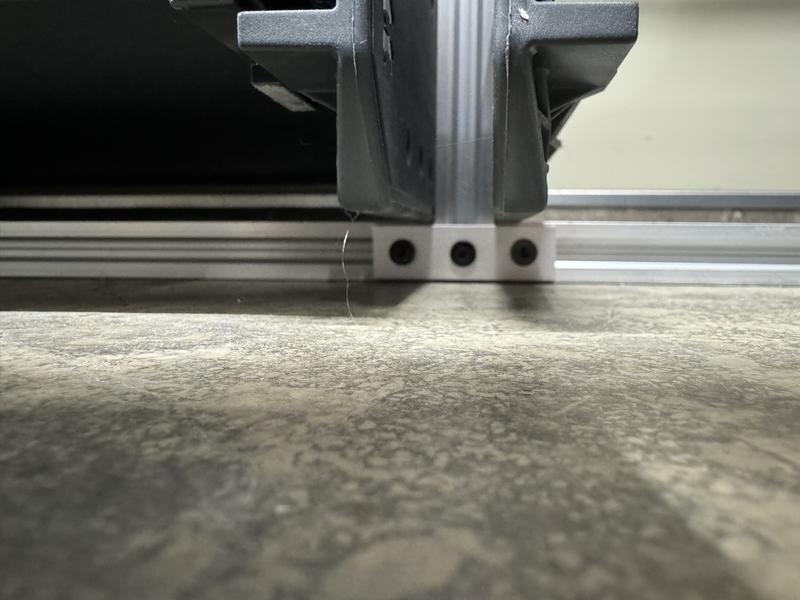
From the wall to the frame is 235mm. This allows clearance for the Bott drawer. If you are not using the drawer, you could make the clearance from the wall less.
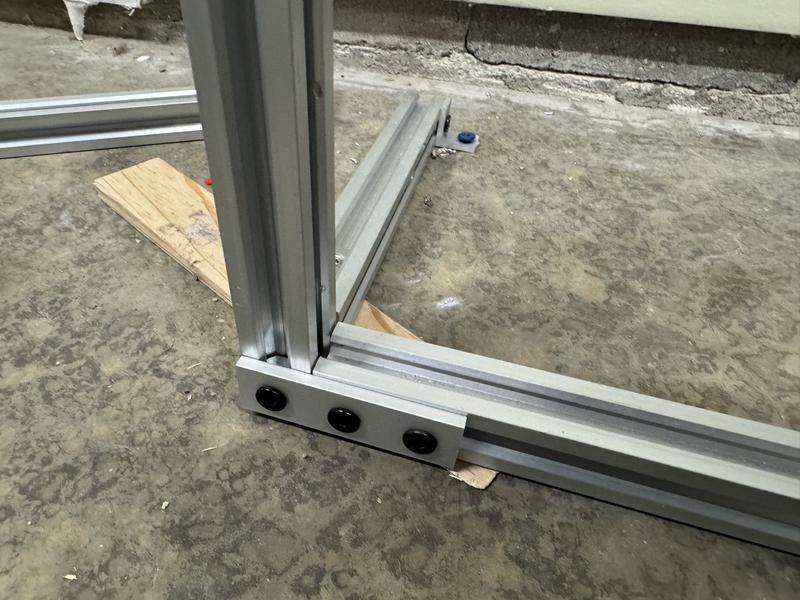
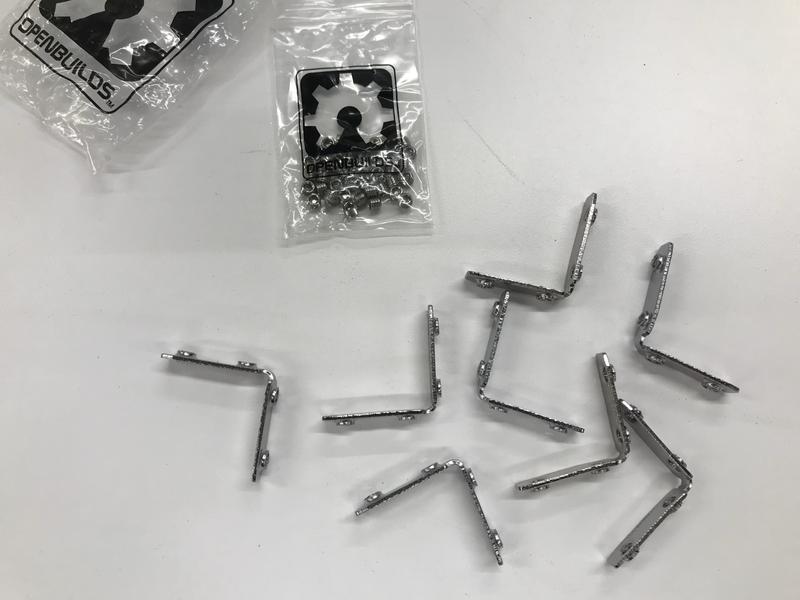
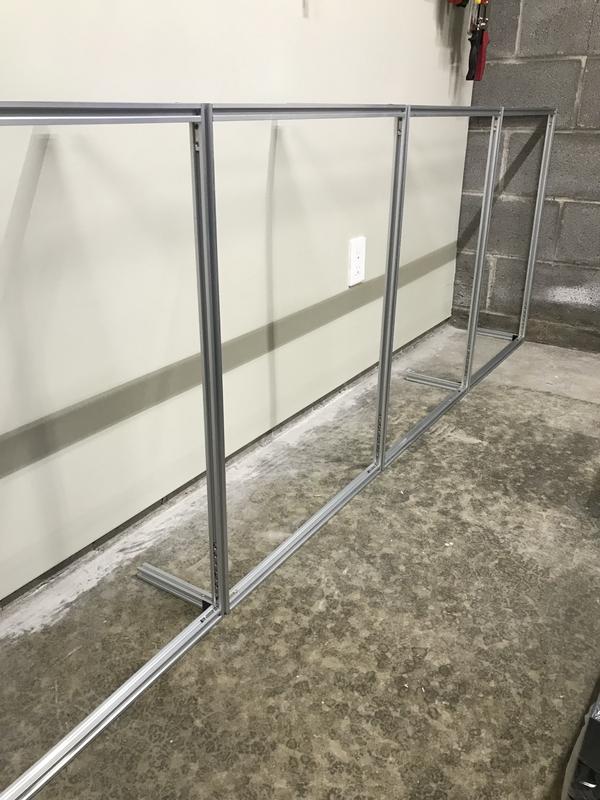
The frame is constructed in a rails and stiles method. That is the tall vertical stiles and the horizontal rails. So in my case with a Systainer³ L width, the rails were 530mm in length. This construction method works well with the joining plates and connectors proposed below. Again, there may be other configurations you want to consider.
Now when I built the SYS-Tower, I actually tried various assembly options. I tried a few different routes and landed on the solution I describe below. Please note that some of the images may be from earlier in the build and don’t display the final solution.
You will certainly want a sketch with dimensions for your SYS-Rack based on the above design details.
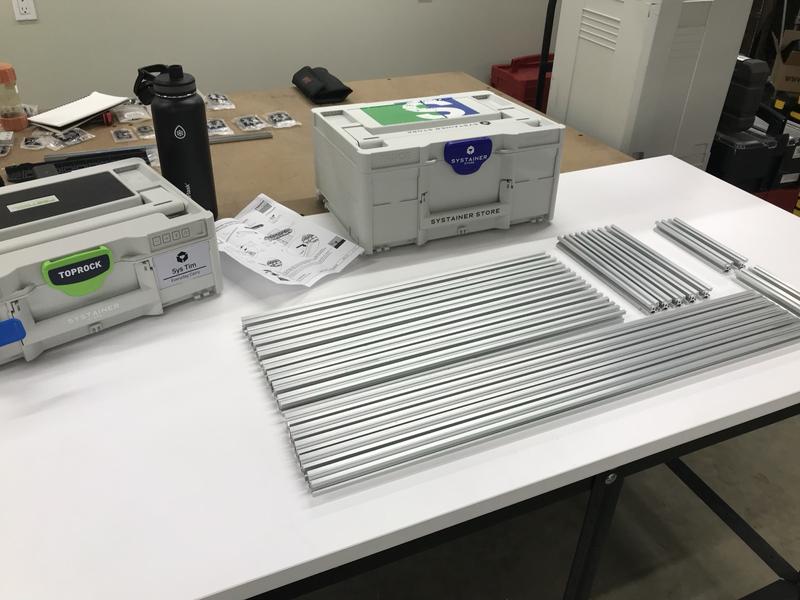
For the rail you will want to create a cut list, then determine how many pieces of rail to procure. The rail could be silver or black.
Let’s build your parts list:
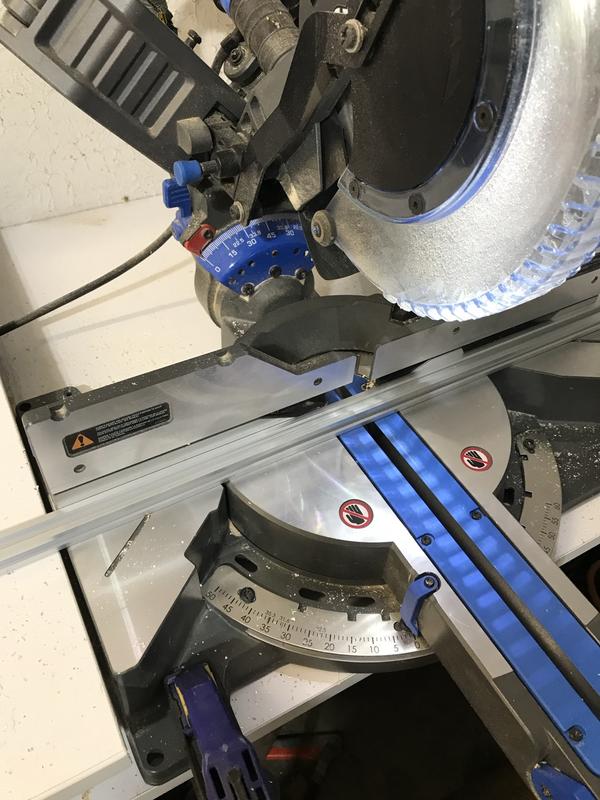
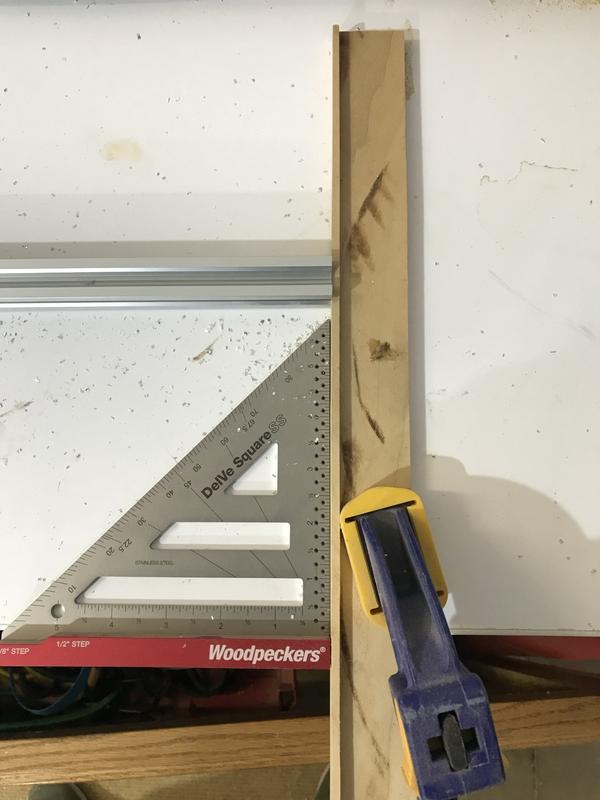
The aluminum rail can be cut with a miter saw or band saw. Have a good blade, take it slow. Wear long sleeves and your eye, face and ear protective gear. To get repeatable cuts use a stop block. Clean up the edges with a small file and sand paper.
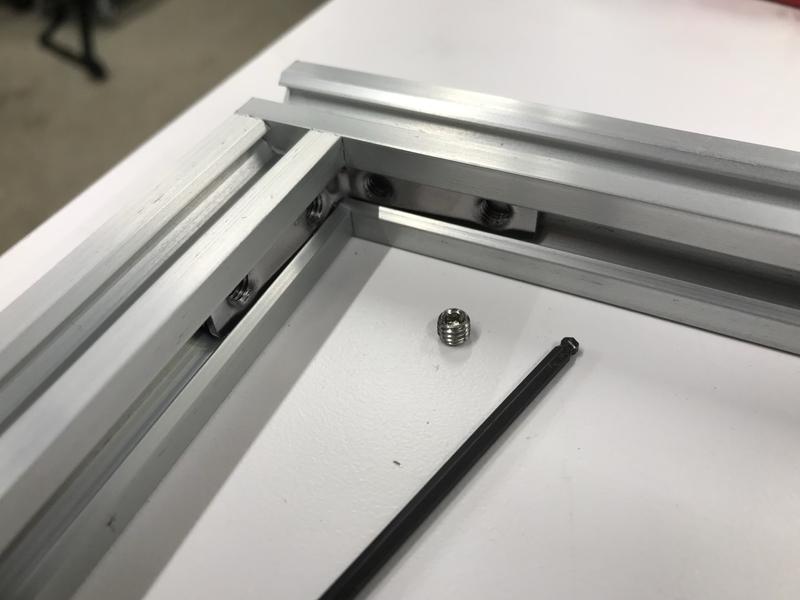
Layout the frame and review the assembly for the right dimensions. Add in tee nuts where you need them. Remember to put nuts for all the Bott runner, brackets, and attachments. If you miss something you can use the drop in tee nuts.
Make all the frame attachments, then add your supports and move into its final resting place. Check for square, level and plumb. Use some shims if need be. Then attach the unit to the floor and to the wall.
Then attach the runners for each bay. I recommend working from the bottom up and using a spacer to get a consistent look. Be sure to check for level on each runner.
Finally add the top work surface and fill with systainers.
Once you get your mind wrapped around this, this isn’t a difficult job. A sketch goes a long way to get your dimension and hardware count right. Study the pictures and enjoy! Don’t forget to share your build here on Systainer Works.

Sys Tim
Build awesome things, with great people, have fun and make money!
I created Systainer Store which became the largest dealer of Systainers in North America. In the fall of 2024 the store was sold to Systainer Systems North America and is now Systainer USA.
I’m a business and strategy designer, an entrepreneur and a professional engineer. I’ve built SaaS and IOT businesses as well as rollercoasters, parades and fireworks shows.
This post may contain affiliate links to products from Systainer USA and other vendors. We may earn a commission on qualifying purchases.